PRINTING ARTWORK ON FABRIC for Memory Quilts or Other Sewing Projects
PRINTING ARTWORK ON FABRIC
FOR MEMORY QUILTS OR OTHER SEWING PROJECTS

I have developed a fairly simple process for transferring artwork onto fabric for use in a memory quilt or other sewing projects. Follow my step-by-step instructions to create your own!
What do you need?
* A computer with applications that allow you to insert photos and print
* An inkjet printer or access to one - which will print color
* Artwork in digital format
* A digital camera or scanner feature to turn your artwork into digital files
* Woven cotton fabric in white or lighter tone colors. A lightweight fabric is best. Wash and dry to allow it to shrink before using.
* Other fabric you may want to use if making a quilt
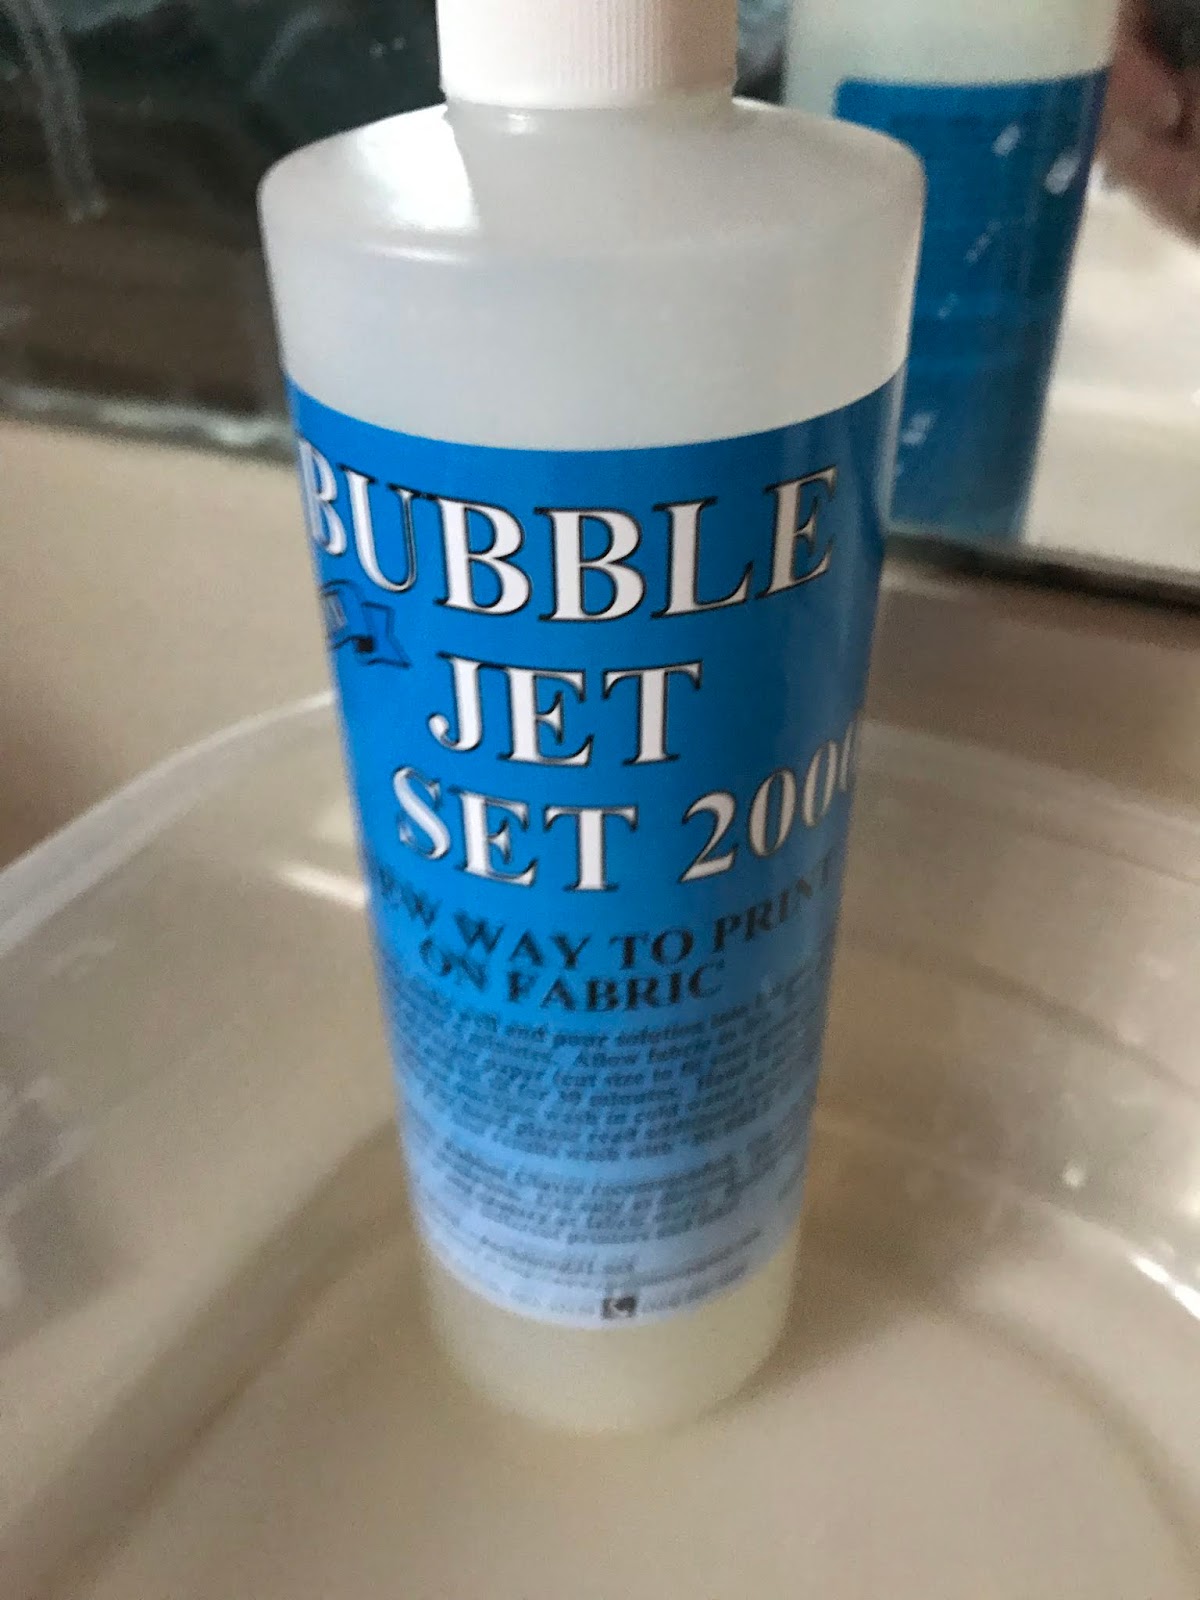
* Bubble Jet Set 2000 and Bubble Jet Rinse (available on Amazon)
* Shallow plastic tray or plastic storage container
* 8 1/2" x 11" peel 'n stick label sheets
* Iron
* Sewing machine, thread, sewing notions, sewing tools
(This blog is primarily showing the printing process onto fabric and only touches on the sewing process for quilts. I am assuming you know how to make a quilt and have all the tools necessary to do so.)
I started making 80th birthday quilts for my Dad, my Aunt and several of my Uncles about 12 years ago. Early on, I collected signatures and Happy Birthday wishes from our extended family made with Fabric pens on pieces of fabric for the recipient's quilt. Later, I learned about the process of transferring artwork or written birthday messages originally written on paper to fabric with my home printer. It involves the soaking of the fabric into some setting solutions in order to set the design onto the fabric.
Step 1: Collect Artwork. You may be making a small quilt or pillow from your children's artwork or for a birthday quilt, graduation quilt, 50th anniversary quilt, whatever! Obviously, you need to collect the artwork somehow. I live out of town from most of my relatives. So for my Uncle's birthday quilt, I resorted to asking for digital pictures to be sent to me via e-mail, text or social media. I told the family to write out their birthday greeting or draw pictures, whatever they wanted to do and then take a digital photo of it and send it to me.
 Step 2: Get them all organized into one file. Keep in mind that people will take photos with shadows and unless you use a really good photo-editing program, it is difficult to get all the shadows and paper wrinkles removed from the digital picture. I decided to print on a green fabric rather than white in order to mask some of the shadows.
 Step 3: As you print, you will need to edit the photos on your computer to fit the largest dimension across the 8 1/2" dimension for a piece of paper. Remember to include margins around all the edges so that writing or pictures are not cut off the edges when you sew the 8 1/2" wide piece of fabric to something else. I aimed for 1/2" around all edges. So the important edges of the artwork itself was within about 7 3/4" wide.
Remember that you are aiming for the largest dimension of the artwork to be oriented horizontally across the 8 1/2" edge of the paper or portrait mode. If someone draws a picture across the 11" width, rotate it and adjust its's size in order to be oriented across the 8 1/2" width. The above artwork created by my cousin's son, was drawn across the 11" width of a standard piece of paper but when I inserted it into my Pages program on my Mac, I made sure it fit across the 8 1/2" width and adjusted its size accordingly in order to leave margins for the seams.
Step 4: Prepare your fabric. This is important: The fabric you use will need to go into the printer at 8 1/2" x 11". You WILL be cutting off 3" of fabric after you print the image on it. It is advised that you make an approximate cut at around 9" x 12" size for the setting solution before it goes into the printer. Then, you will trim again to 8 1/2" x 11" right before it goes into the printer.

Step 5: Find a shallow plastic tray or storage container. I used one that my 8 1/2" x 11" fabric sheets would fit into but it could be smaller. Pour your Bubble Jet Set 2000 into the tray. For my throw sized quilt with 40 printed fabric squares, I started with 1/4 of the bottle but then added more when I realized I needed more.

 I soaked the fabric sheets in the solution until thoroughly saturated. Then, I picked them up one by one and squeezed out the excess. This creates a few wrinkles but you will need to iron it out when they dry anyway.
I laid out old towels on the floor and then laid each of the sheets onto the towels to dry. This may take 3-4 hours or overnight.
Step 6: Press out the wrinkles of your treated sheets of fabric. Then begin to apply your peel 'n stick label sheets to your fabric. Lay the fabric down first, then apply the sticky side of the labels to the sheet. The backing on my labels had a half sheet of slick paper I could peel off first. I smoothed that down, then peeled the other half. Note: These sticky labels can be used over and over. They will be most sticky for the first usage. Retain the slick backing to cover the sticky side when you take a break or between printings.


 Step 7: Now you will need to trim the fabric as close as possible to the edges of the label paper. You can use scissors but the best method is to use a rotary cutter, cutting mat and ruler. Don't dismay if you happen to trim off little slivers of the label paper in the process. It will still go through your printer.
Step 8: Now your are ready to send the sheet through your printer! Follow your printer's directions on how to load paper in the paper tray (most are face down) and put your fabric side in correctly. Print the digital file as you would any file. But do this one sheet at a time. Don't try to send several sheets all at once. Tip: Remove any loose threads or lint from the face of your fabric before inserting into the printer.


Step 9: Peel off the label paper from your fabric. You can use the label paper multiple times. I have used mine 10 or 12 times before it loses its stick. For this project, I used 2 sheets. I alternated between my two sheets by sending one through the printer, while I prepared the next one with the fabric attached and trimmed. After peeling off the label paper, I trimmed approximately 3" off of the bottom of the fabric rectangle. (It is still not YET necessary to cut the exact 8 1/2" x 8 1/2" sheet. We will do that after the 2nd soaking in the rinse solution.)

Step 10: You will now use the Bubble Jet Rinse solution. Follow the directions for water to solution ratio to soak your printed fabric squares.


As you can see, when I printed the messages/artwork onto the fabric, there is a lot of shadowing due to the photo quality. I chose not to get too picky with trying to "scrub" those shadow out from behind the text. But with a lot of patience, and a good photo editing program, it can be done.
Step 11: Once dry, the squares can be ironed/pressed. It is now time to trim each square of the stray and frayed edges and to cut the edges to be exactly 8 1/2" x 8 1/2". The soaking process of both solutions does create a little fraying and you will be able to sew the pieces together for your projects much easier without all those loose threads in the way.

Step 12: Project Completion: The project you choose to make from the use of these squares is totally up to you but I am making a signature quilt/memory quilt out of mine. I will now quickly go through that process assuming you have made a quilt before. I chose a camouflage print for the rectangular sashing with coordinating orange squares to go in each corner and laid it all out the way I wanted to arrange the quilt squares.


Then, I sewed the pieces together in rows and sewed the rows together to create the final pieced quilt top.


I then add the binding fabric to seal up the edges. Voila! The quilt is finished!


Comments
Post a Comment